Hello, lovely readers and fellow art enthusiasts! Have you ever looked at a watercolor painting and marveled at the beautiful transitions of color, the smooth gradients that add depth and intrigue to the most explicit scenes? If you have, you’ve already experienced the allure of a well-executed watercolor wash.
The Power of Gradient Washes in Watercolor Art
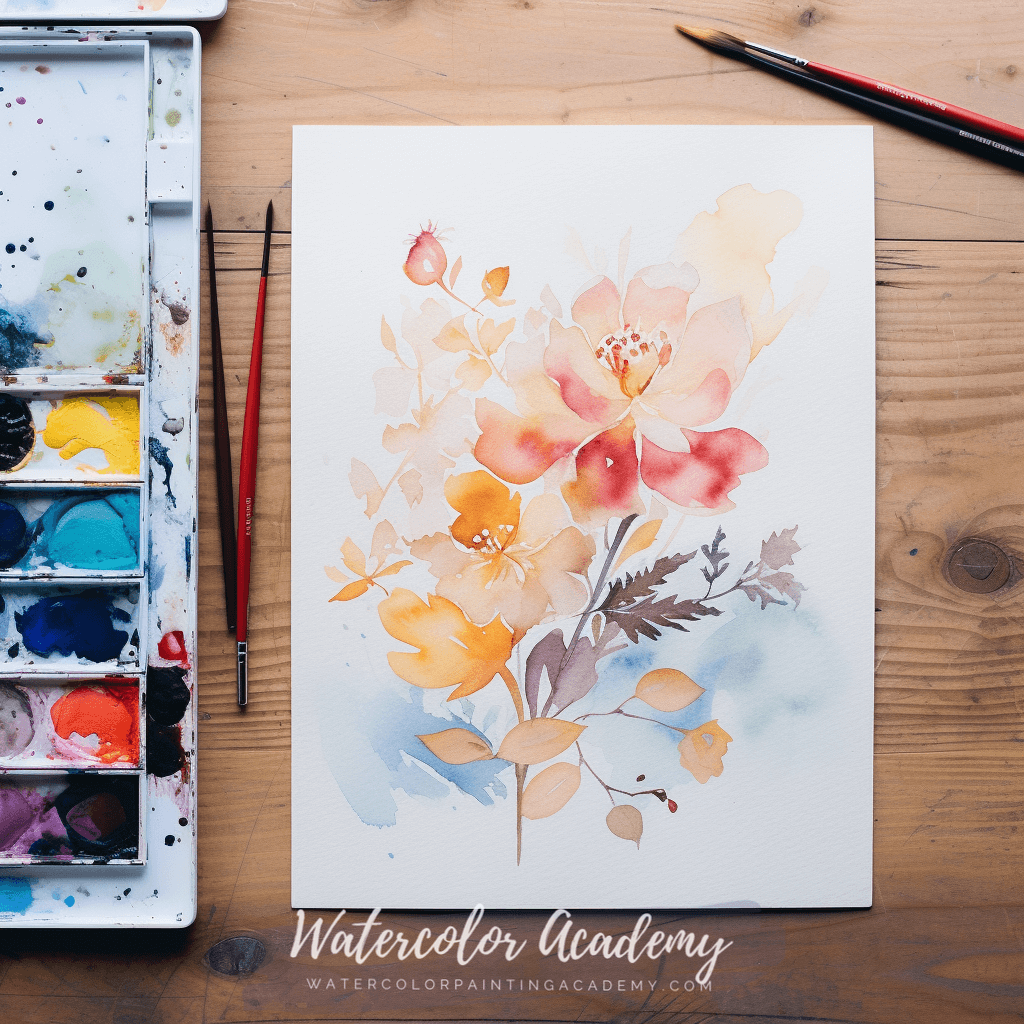
The beauty of watercolor lies in its transparency and fluidity. When colors flow and merge into each other on paper, magic happens. This ‘magic’ we speak of is often the result of the gradient wash – a foundational technique in watercolor painting. A gradient wash can mimic the softness of a sunrise sky, the gentle blending of colors in a flower petal, or the distance of a misty mountain. Mastering this technique can create depth, interest, and realism in your art.

Why Mastering Gradient Washes is Essential
Understanding and mastering gradient washes are like learning your ABCs in the world of watercolors. It’s not just about making pretty color transitions; it’s about understanding how watercolors behave. Mastering gradient washes gives you more control over your medium and helps you predict how your painting will turn out. Whether you’re an absolute beginner or an experienced artist looking to refine your techniques, this skill is invaluable.
In the following chapters, we’ll dive into the different types of watercolor washes, offer step-by-step guides to creating them, share tips for achieving smooth gradients, and much more. So grab your paintbrush, prepare your palette, and embark on this colorful journey together!
Understanding the Basics of Watercolor Washes
Before we get our brushes wet, let’s delve deeper into the basic principles of watercolor washes.
What is a Wash?
In the most straightforward terms, a wash in watercolor painting is a large area covered with a layer of paint. Think of it as the backdrop to your watercolor masterpiece, setting the mood, tone, and overall atmosphere of your painting. Washes can be one uniform color or blend different hues to produce a gradient effect.
The Different Types of Washes
Watercolor washes come in all shapes and sizes, but there are three main types you’ll want to become familiar with as a budding watercolor artist:
- Flat Wash: This type of wash features a uniform color across the painted area. Despite its simplicity, a flat wash can create impactful and dramatic effects, especially when juxtaposed with more detailed or textured painting areas.
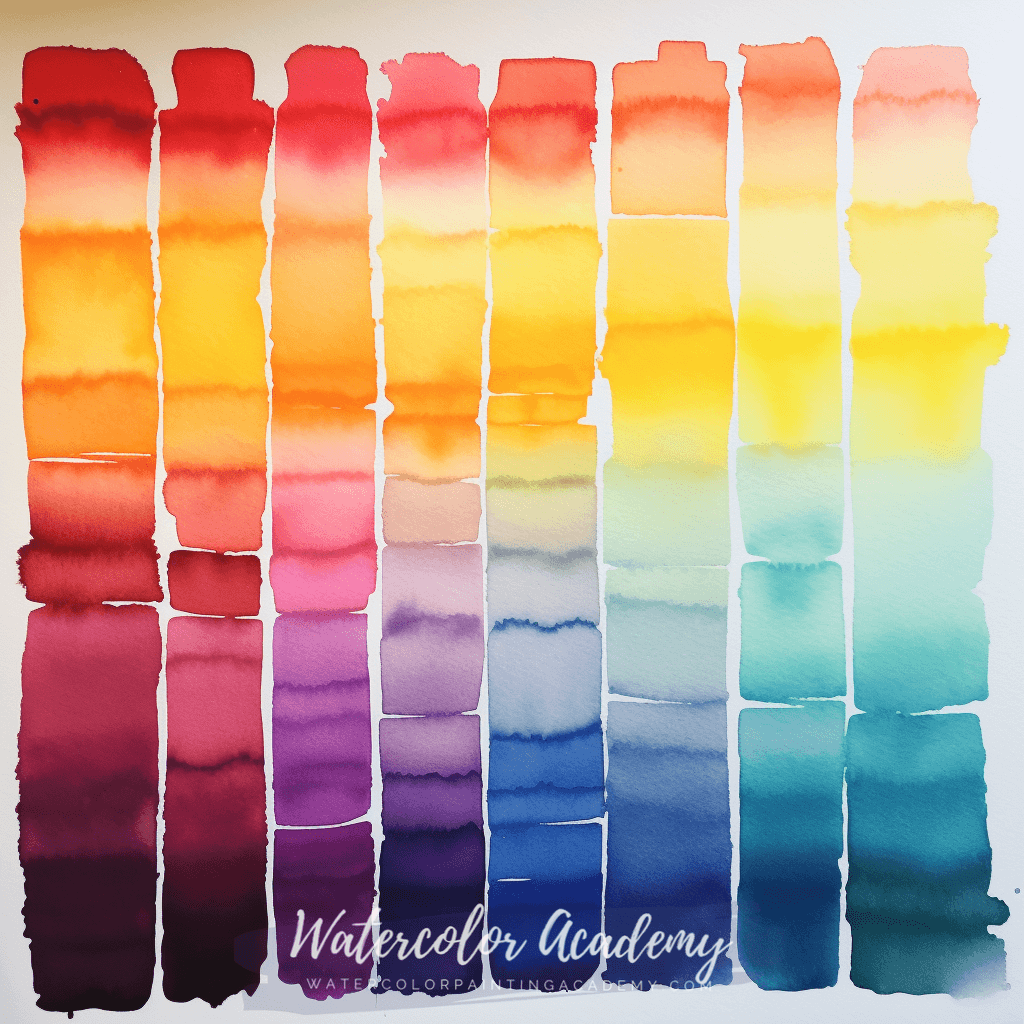
- Graded Wash: This technique transitions gradually from a darker to a lighter shade of the same color or from one color to another. It’s a fantastic way to simulate lighting effects or suggest depth in your paintings.
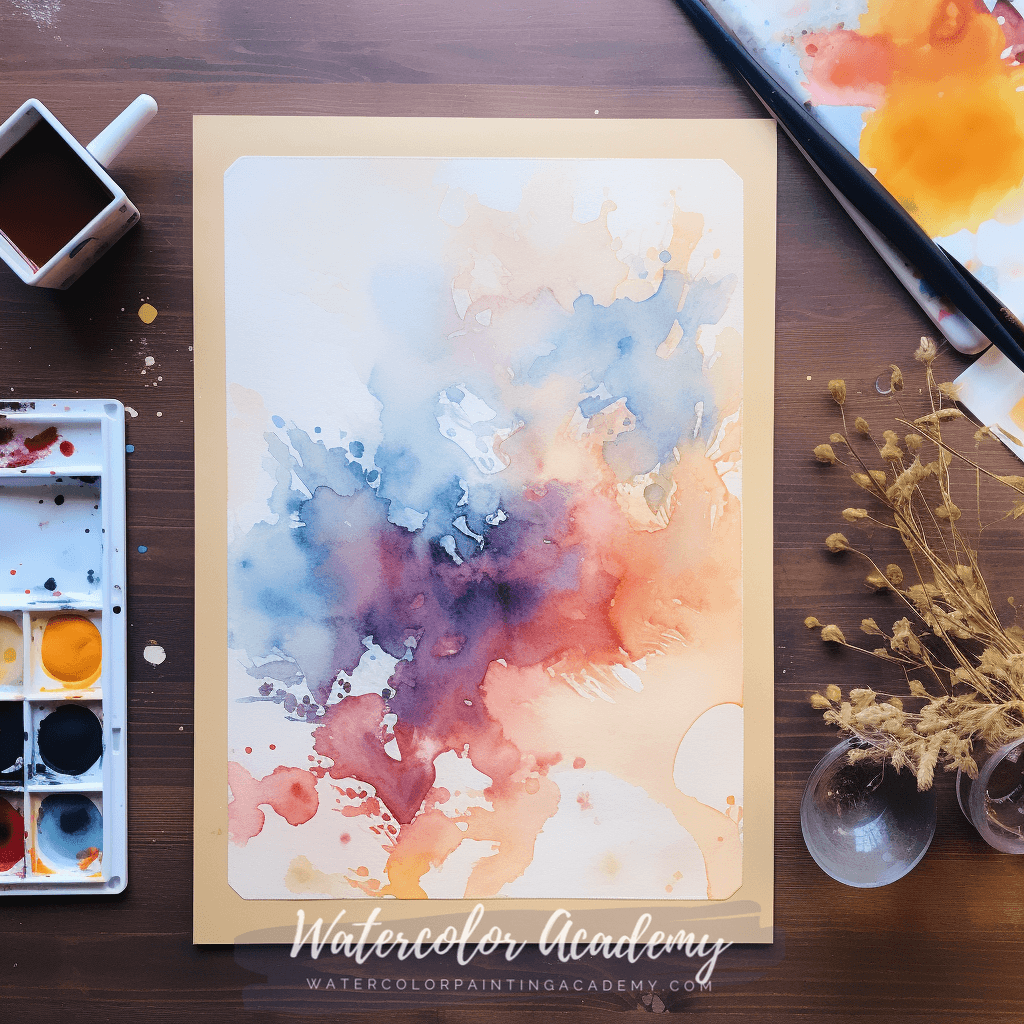
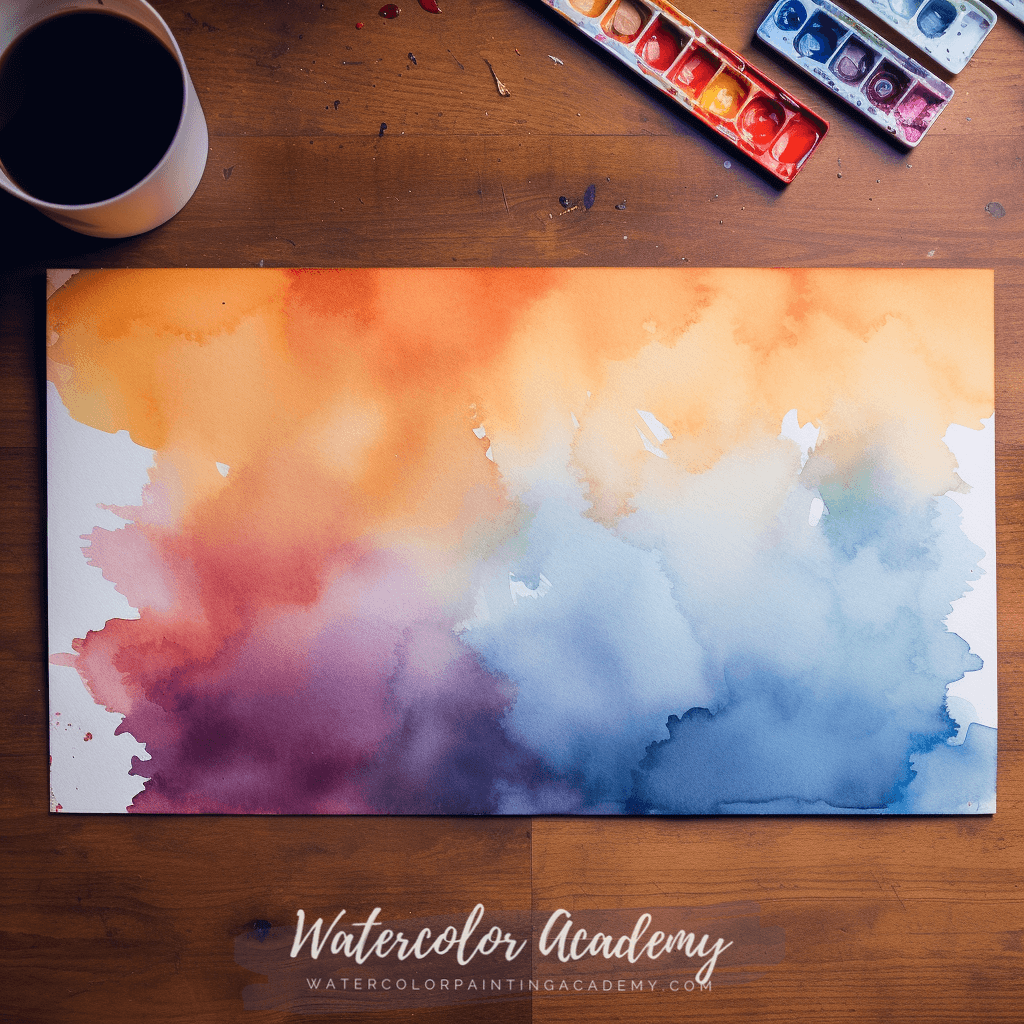
- Variegated Wash: This wash blends two or more colors, allowing them to interact directly on the paper. The colors flow into each other, creating unique and often unexpected gradients that can add an organic, dynamic feel to your work.
Knowing these three types of washes and understanding when to use them will give you a strong foundation for exploring more complex techniques and effects. In the following chapters, we’ll dive into creating each one, offering clear, step-by-step instructions and handy tips to ensure you achieve those smooth, beautiful gradients you aim for. So, roll up your sleeves because it’s time to immerse ourselves in the colorful world of watercolor washes!
Setting Up for Success
Setting yourself up for success is essential before diving into the world of gradient washes. This means making thoughtful choices about your materials and workspace.

Choosing the Right Materials
The quality of your washes is directly influenced by the materials you use. Let’s start with your essentials:
- Watercolor Paper: Opt for a high-quality watercolor paper that can withstand much water without warping. 140lb (300gsm) cold press paper is a great place to start, as it provides a good balance of texture and durability.
- Brushes: When creating washes, your best friend is your brush which can hold water. Round and flat brushes, preferably made from sable or synthetic sable, are perfect for this.
- Paints: Using professional-grade watercolor paints can make a big difference in achieving smooth washes. These paints have higher pigment concentration and better transparency, making your washes look more vibrant and smooth.
Preparing Your Workspace
Setting up your workspace to promote efficiency and comfort can significantly impact your washes.
- Water Containers: Keep two containers of water on hand: one for rinsing your brush between colors and another for clean water in your washes.
- Paper Towels: Keep these within reach for blotting your brush or quickly fixing mistakes.
- Tilted Surface: Consider working on a slight incline to help control the flow of watercolor on your paper. You can use a drawing board or prop one side of your tray on a book or block.
And that’s it; you’re all set up for success! By focusing on these essential factors, you can increase your chances of achieving those beautiful, seamless gradients in your watercolor washes. Next, we’ll start with the basics and learn how to create a flat wash. Stay tuned!
How to Create a Flat Wash
The flat wash is a foundational technique in watercolor painting. Known for its uniform color and smooth surface, a well-executed flat wash can add depth and mood to your work.

Here’s how you can create a successful flat wash:
- Prepare Your Brush and Paint: Start by soaking your brush in clean water. Once saturated, mix your chosen color in a different palette, ensuring you have enough paint to cover your desired area. You’ll want to achieve a rich, fluid consistency.
- Wet Your Paper: This step is optional and depends on the effect you’re looking for. For a soft, diffused look, wet your paper first. Apply your wash to dry paper for a more robust, precise color.
- Start Your Stroke: Begin at the top of your paper and smoothly drag your brush horizontally from one end to the other. Remember to hold your brush at a 45-degree angle for the best result.
- Continue Your Wash: Without lifting your brush, dip it back into your paint and align it with the end of your first stroke. Make sure to overlap with your previous stroke slightly. This ensures a smooth, seamless gradient with no hard lines.
- Repeat Until Finished: Keep painting horizontal lines, one after another, until you’ve covered your desired area.
Tips for Achieving Smooth Transitions in a Flat Wash
- Maintain a ‘bead’ of paint: The excess paint gathers at the bottom of each stroke. It helps to maintain the paint flow and prevents hard lines from forming.
- Work quickly: Watercolors dry fast, and you must maintain a wet edge to avoid uneven color.
- Angle your board: This helps with the flow of the paint and keeps the ‘bead’ moving downwards.
Mastering a flat wash may seem simple, but like all things in art, it requires patience and practice. Remember, it’s okay if your washes aren’t perfect right away. Each brushstroke is a step forward on your watercolor journey.
How to Create a Graded Wash
Welcome to our colorful exploration of the graded wash. This technique, which transitions smoothly from a dense, vibrant color to a soft, diluted one, can give your painting depth and dynamism. Let’s start with the basics and then dive into the steps to create a successful graded wash.

What is a Graded Wash?
A graded wash is a watercolor technique where the pigment is gradually diluted with water, creating a gradient effect. Starting with vibrant color, the paint gets progressively lighter as you add more and more water. The result is a section of your painting that starts with vivid color and fades into a soft, almost transparent shade. This technique can add depth and perspective to your artwork, especially in landscapes or skies.
Steps to Create a Graded Wash
1. Set up Your Workspace: As with any painting, start with a clean and organized workspace. Lay out your brushes, paint, water, and clean, absorbent cloth. Make sure you’re working on a flat surface for this technique.
2. Prepare Your Paint and Water: Mix enough water with your chosen paint color. You’ll want a more concentrated color to start with. Also, prepare another container with clean water to dilute the paint as you progress.
3. Start with the First Stroke: Dip your brush into the paint, ensuring it’s saturated but not dripping. Apply a horizontal stroke at the top of your paper.
4. Dip, Blot, and Stroke: Dip your brush into the clean water, blot off the excess water, and apply another stroke directly under the first one.
5. Repeat: Continue this process, adding more water and less paint with each stroke. You should start to see a gradual transition from a dark, saturated color to a lighter, diluted hue.
6. Dry Your Painting: Allow your painting to dry completely before adding new layers or details to avoid disrupting the graded wash.
Tips for Achieving Smooth Transitions in a Graded Wash
Creating smooth transitions in a graded wash is vital to achieving a seamless gradient effect. Here are a few tips to help you:
- Work Quickly: Watercolor dries quickly, so speed is of the essence. Swiftly add each subsequent stroke before the previous one dries to create a smooth gradient.
- Maintain a Bead: Try to maintain a bead of water at the bottom of each stroke. This helps to merge the strokes smoothly.
- Use the Right Brush: A flat brush is often recommended for washes, as it allows for even, horizontal strokes.
Remember, mastering the graded wash takes time and patience. So don’t fret if you don’t get it perfect on your first try. Keep practicing, and soon, you’ll create breathtaking gradients in your watercolor paintings!
How to Create a Variegated Wash
A variegated wash is like a delightful dance between two or more colors on your canvas. It’s all about letting colors merge and mingle in ways that create gorgeous, often unexpected, blends and transitions. This technique can add impressive depth and dynamism to your artwork, making it seem more alive and vibrant. So, let’s dive right into the steps for creating a successful variegated wash.
1. Prepare Your Colors and Paper
First, ensure you have ready all the colors you want to use in your wash. You can pre-mix your colors in your palette or let them mix directly on the paper for a more spontaneous effect. Like with flat and graded washes, wet your paper adequately but not excessively.
2. Lay Down the First Color
Choose one of your colors and apply it to your wet paper. This will be your starting point for the variegated wash. Remember, work quickly to keep the paint from drying.
3. Introduce the Second Color
While the first color is still wet, add the second color. Apply it close to or into the first color. Allow the colors to flow into each other naturally. You can guide the colors slightly, but the beauty of this technique lies in its unpredictability.
4. Continue Adding Colors
Repeat the process with additional colors, allowing each to merge with the last. The key here is to blend the colors naturally on the paper and not overwork it.
5. Let it Dry
Allow your variegated wash to dry completely. The colors will continue to blend and settle as it dries, often creating stunning effects.
Tips for Achieving Smooth Transitions in a Variegated Wash
- Don’t Overwork the Paint: Once you’ve added the paint to the paper, resist the urge to fuss with it too much. Overworking can muddy the colors and ruin the effect.
- Choose Your Colors Wisely: Colors next to each other on the color wheel generally create the smoothest transitions. But don’t let this limit you. Experiment with different combinations to discover new, beautiful color interactions.
- Practice Patience: Allow the paint and water to do their thing. Some of the most breathtaking effects occur when the colors are left to mix and mingle.
Remember, practice is the key to mastering the variegated wash (and watercolor painting in general). Don’t be discouraged if your first few attempts don’t appear as expected. Keep experimenting, learning, and, most importantly, enjoying the process!
Common Mistakes to Avoid When Creating Washes
Oh, the perils of painting! While it’s true that art involves a good deal of trial and error, understanding some of the common missteps in watercolor washes can help you sidestep these pitfalls. Let’s delve into some troublemakers and learn how to combat them.
A. Overworking Wash
Overworking happens when you go over your wash too often to smooth it out or correct mistakes. This can result in a muddy appearance and disrupt the evenness of your wash. Remember, watercolor is all about letting the water do its thing.
How to Avoid It: Try to be decisive with your strokes. If you see an imperfection, resist the urge to fix it immediately. Often, it’s best to let the wash dry before making any adjustments.
B. Harsh Edges
This typically happens when you allow a section of your wash to dry before continuing to the next section. This creates a hard line or edge in the wash where the wet paint meets the dry paint.
How to Avoid It: Always keep a ‘wet edge’ when working on a wash. This means that you should not let the last stroke of paint dry before applying the next stroke. If you see a part of your wash starting to dry, quickly re-wet it with a damp brush.
C. Uneven Color
If your wash is darker in some areas and lighter in others, you may use an uneven amount of pigment. This is often due to not mixing enough paint before you start your wash.
How to Avoid It: Mix plenty of paint before starting your wash, and test it on a separate piece of paper to ensure you have the right amount of water and pigment.
D. Backwash or “Cauliflower Effect”
This happens when you drop too much water into a section of the wash that starts to dry. The excess water pushes the pigment away, creating a blooming effect that resembles cauliflower.
How to Avoid It: Be mindful of the water in your brush. If a wash is drying, it’s often better to leave it alone.
Remember, mastering watercolor is all about understanding how water and pigment interact. Keep these tips in mind, and with practice; your washes improve over time. Don’t be afraid to make mistakes—that’s how we grow as artists! Now, grab your brushes, and let’s keep painting.
Advanced Tips for Mastering Watercolor Wash Techniques
Now that we’ve covered the basics and you’ve been introduced to the key types of watercolor washes, let’s push the envelope and explore some advanced tips and techniques. These nuggets of wisdom can help elevate your wash techniques and lead you to create even more beautiful, smooth gradients.

Experiment with Tilting Your Board
The angle at which you paint can significantly affect the flow and spread of the wash. Try tilting your board at different angles and observing the changes in how your wash behaves. This can be particularly useful for creating graded and variegated washes where the flow of water and pigment can create a stunning visual effect.
Master the Art of Timing
In watercolor painting, timing can mean the difference between a smooth gradient and a patchy mess. It’s all about finding that sweet spot between wet and dry. If the last wash is too wet, colors can bleed uncontrollably. If too dry, you may end up with hard lines. Practice to get a feel for the perfect timing.
Layer Your Washes
Layering is a beautiful technique for creating depth and complexity in your gradients. By applying thin, transparent washes on top of each other, each layer dries before adding the next; you can achieve an extraordinary variety of tones and shades. Be patient, let each layer dry completely before adding the next, and watch your artwork come to life.
Explore Color Mixing
Expand your palette by mixing your colors. This is a beautiful way to create smooth gradients with various hues. Play around with different color combinations and observe the effects. Always remember to clean your brush thoroughly before dipping it into a different color to avoid muddying your colors.
Practice, Practice, Practice
Like any other skill, mastering watercolor washes requires consistent practice. Don’t be discouraged by initial failures. With every wash you create, you’ll learn something new. Keep pushing yourself, experiment, make mistakes, and grow. Happy painting!
When applied with patience and persistence, these tips can significantly improve your ability to create stunning watercolor gradients. Remember, every great artist starts as a beginner. Embrace the process and enjoy your journey in the wonderful world of watercolors.
Embrace the Journey of Watercolor Mastery
As we close our exploration of watercolor wash techniques, I want to leave you with a few final thoughts. Remember, my dear readers, that the journey to watercolor mastery is of patience, practice, and persistence. It’s okay if your first attempts at gradient washes don’t look exactly as you had pictured. It’s okay if you make mistakes along the way. That’s part of the process!
Remember that each painting, each brushstroke, and each experiment with color and technique brings you one step closer to honing your skills. Like any other skill, art is about the journey as much as the destination.
I encourage you to experiment with these techniques, play with different colors and transitions, and, most importantly, have fun! Embrace the unique unpredictability of watercolor and see where it takes you. And remember, each artist has a unique style, and the little imperfections make your artwork distinctly yours.
As you continue your watercolor journey, I hope you find these techniques useful and serve as stepping stones to your expression. I can’t wait to see the beautiful, smooth gradients you’ll create. Paint with passion and love, and let your art speak your truth.
Remember, every drop of color adds a word to your story. Don’t be afraid to make it vibrant, subtle, bold, or delicate. After all, it’s your masterpiece.
Happy painting, friends!


